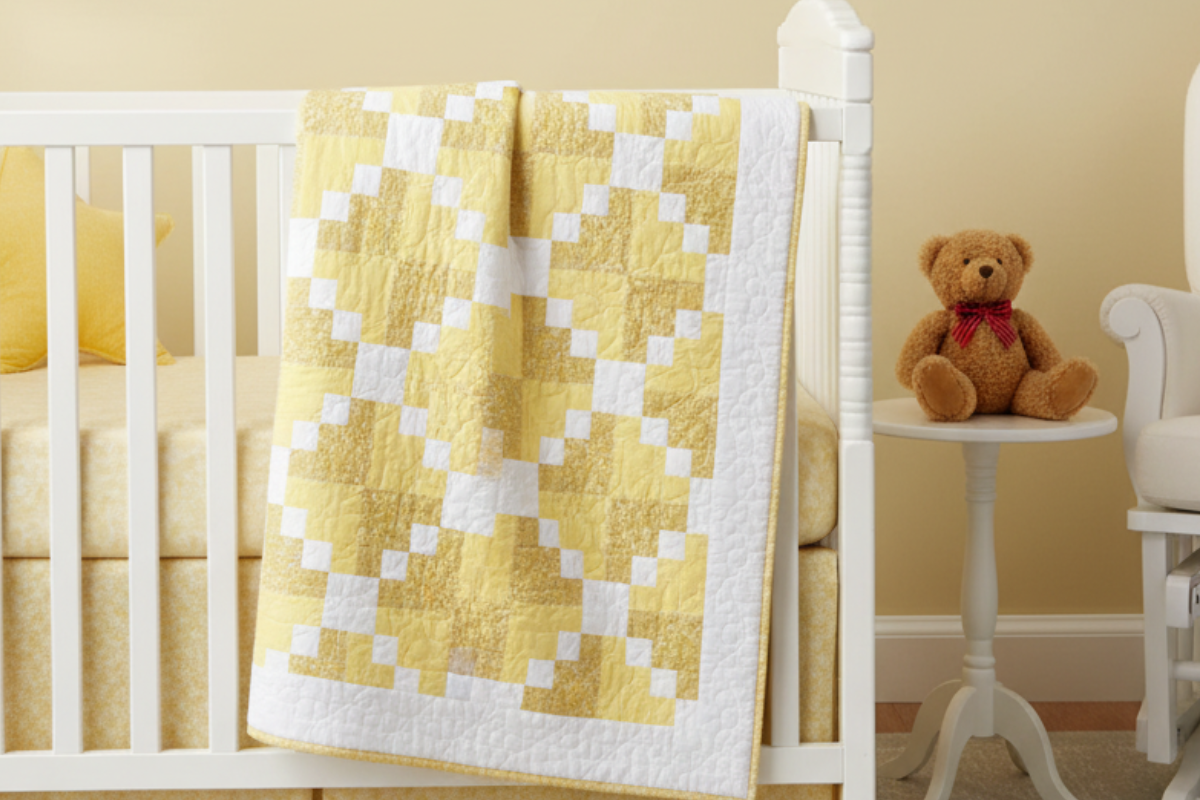
4 Patch Baby Quilt Pattern
This 4 patch baby quilt pattern may look complicated but it’s really a simple quilt block that you make 42 times for a baby quilt and then sew together.
Enter The monthly fabric giveaway. See the details
Table of Contents
Make Your Quilt Block
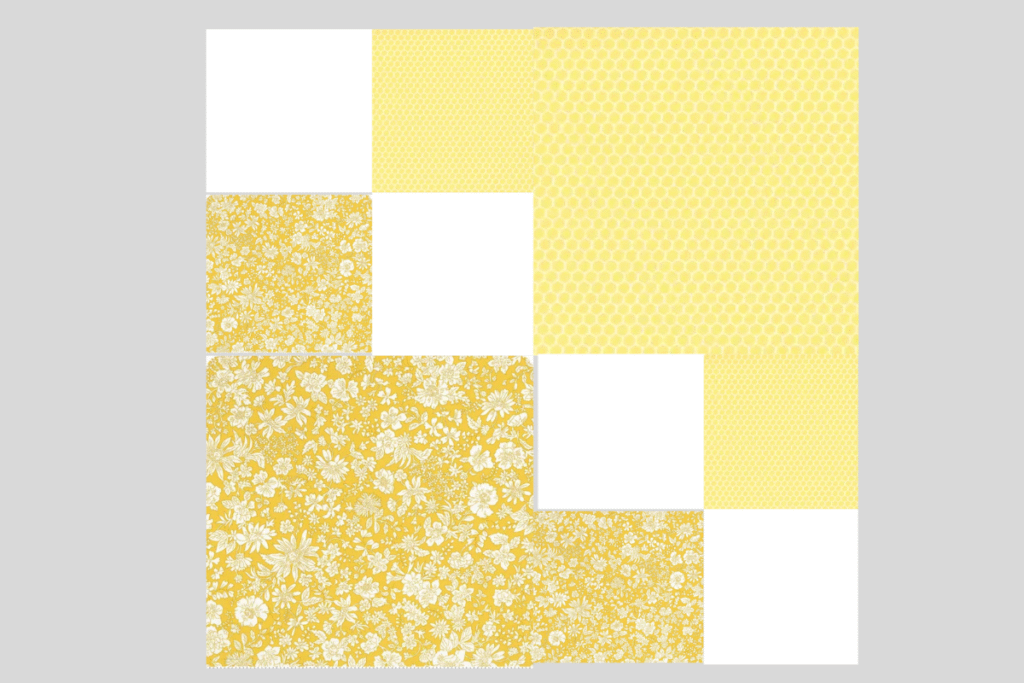
Step 1 is to make your 4 patch quilt block. I have sizes for various quilts on that post.
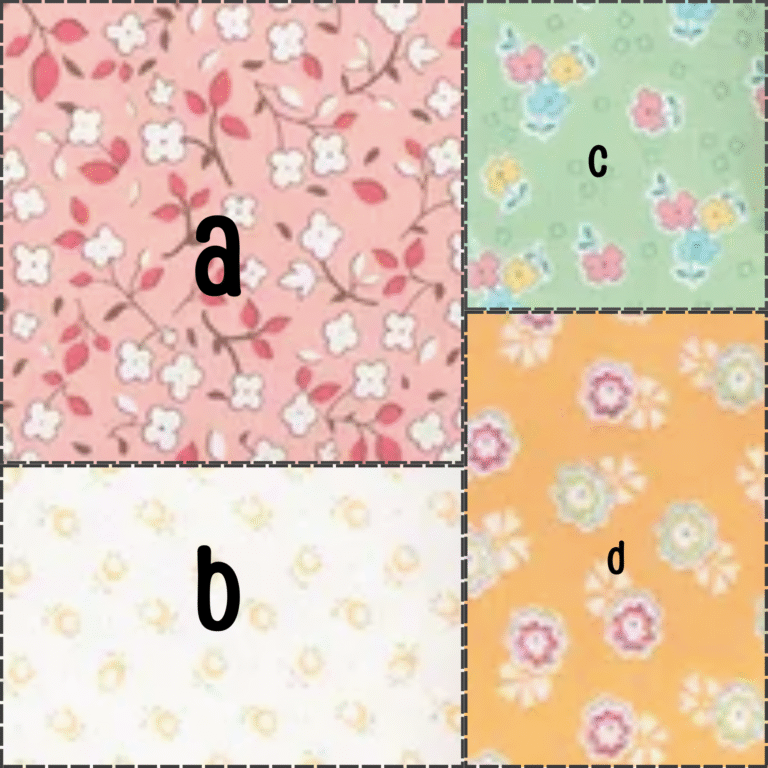
There is a detailed tutorial you can find below. You only need 3 fabrics but you can also change that depending on your preferences. Also, remember you can easily make multiple blocks using your scrap fabrics.
Construct your 4 Patch Baby Quilt Pattern
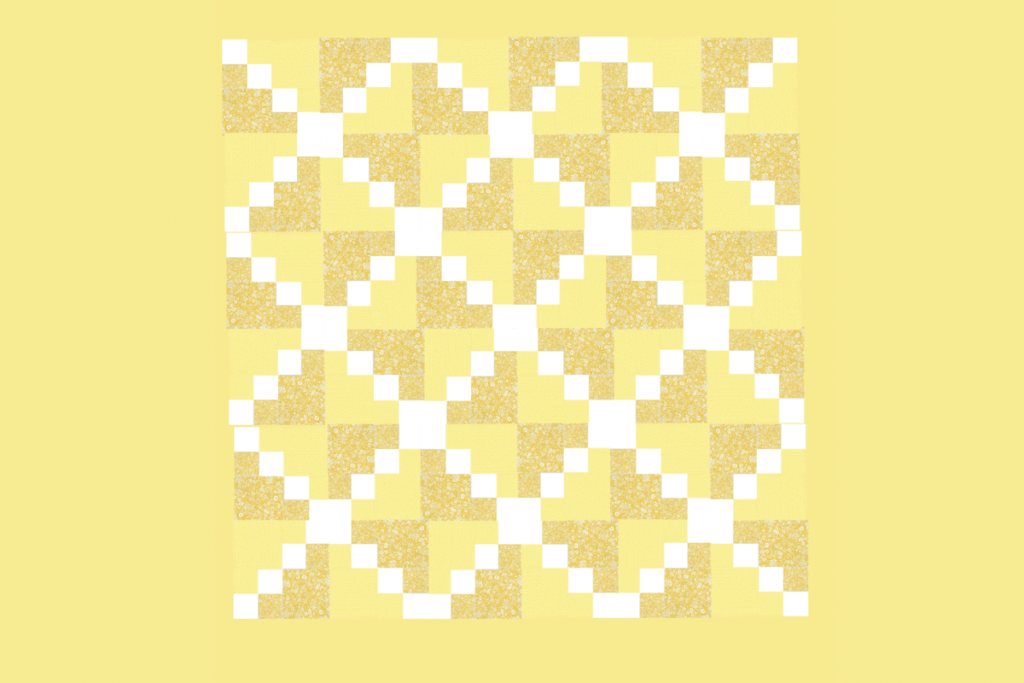
For a baby quilt, you need 42 quilt blocks. I find it easier to lay it out on my cutting table but you can also use your floor or kitchen table.
Start with quilt block 1 and then take block 2 and turn it to line up with your block 1. Using a 1/4″ seam allowance so your block and press your seams.
You will continue with your row sewing each block by turning them and lining them up. Don’t forget to press your seams each time after you sew them. You can easily make a totally different quilt look by change the direction of your white blocks.
Finish all your rows and then starting sewing your rows together. You are half way finished with your 4 patch baby quilt pattern.
I always press my seams after sewing each row. I think it makes it easier to sew and will definitely help you keep your rows straight.
Once you have all 7 rows on, go ahead and add your batting and backing and finish any way you want. You can also add a 2-3″ border if you feel like it needs to be a little bigger or simply love the look of a border.
If you don’t have a long arm you can do free motion quilting or simple do diagonal lines to finish the quilt. Don’t forget to add some binding to your quilt as your last step. We do have a binding fabric calculator. Simply measure your finished quilt and put in the numbers.